BQueen Tutorial: Wood Photo Board

It’s time for our first tutorial of 2017, and it is an easy project that you can use throughout the year: a Wood Photo Board.
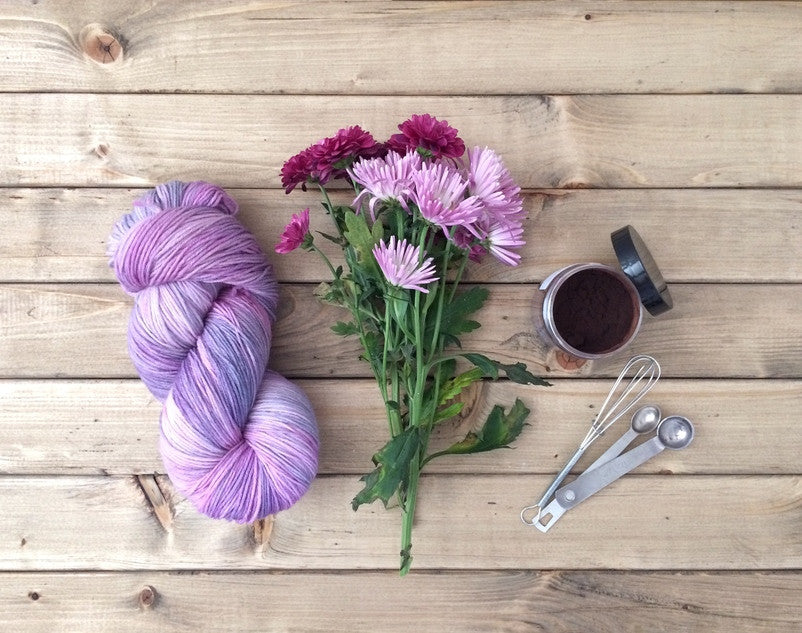
I love to take photos, specifically of our products, and while I have only an iphone and a $20 broken tripod held together with a rubber band, that doesn’t stop me from wanting to take the best photos I can. My mother-in-law just reminded me, “…you do the best you can with what you have.”
So there are ways to fake it until you can make it (or can afford a million dollar DSLR camera, lighting, tripod, and such) with simple solutions that don’t have to break the bank. One of my go-to photo props is the wood photo board.

A photo board is a three dimensional backdrop for your overhead shots. They can be made of any material, and are very popular in food and product photography. You can even get “fake” photo boards, which are a vinyl type paper that nowadays are very well done and almost impossible to tell from the real thing. Some photo boards are wood, metal, chalkboard – you name it, someone has a piece of it that they are tucking behind their enchanting dinner shot to really set the mood.

The (now) three photo boards I have are wood – it’s cheap, easy to find, and I love an excuse to build. When making my third and latest photo board, I thought I’d make it a quick tutorial to share.
Not sure if you really need them? It doesn’t matter if you sell products or not – if you like to take pretty photos, and want to step up your game for fun (or for profit), then invest in this cheap DIY that will add that special something to your photos.
Best of all, this project will cost you less than $25 to make and only about an hour of active building time. The instructions below are for a 22.5” x 30” photo board, and designed in a way that I could get use of both sides for two photo boards out of one!

Let’s Get Making
Materials
- (4) 1x3x8 Furring Strip Board - $2/board
- Wood Glue - $4
- Stain - $5 (I used Miniwax 8 ox. Weathered Oak 270 Oil-Based)
- Foam Brush - $1
- Sand Paper - $4 (I used 150 grit)
- Additional Materials – Tape measure, hand/miter saw
The Cuts
- 9 cuts at 30” (this will use up three of your four boards)
- 2 cuts at 21” (these are your vertical boards to hold all of the horizontal ones together)
Instructions

After making your cuts, line up the 30” boards in the shape of your board. Coat one side of each of your 21” board with wood glue and place perpendicular to your horizontal boards (having a wet rag handy is helpful here to wipe off any glue that might escape around the edges).
TIP: If you want to be able to use both sides of your photo board, you can place the 21” boards towards the edge, leaving you room on the backside.
Place heavy items on the board to help adhesion, and let sit overnight.

Sand your board to your preference. I made sure the edges were smooth (I hate slivers) and sanded away any black markings that came on the wood.
Time to stain! Dumping some stain into a paper bowl (which then later flipped over and stained my driveway due to a wonderful gust of wind), take your foam brush and smoothly go down each board, coating with stain. Keep your coats light, and reapply to get your desired shade. Be sure to get the cracks between your boards, but do not go crazy with the stain otherwise it might seep onto the backside and ruin your hopes of getting two boards from one.

I applied only one coat and let my board dry overnight. At this point you could re-sand to scuff up your board if you’d like. I also left the backside of my board unstained since I want this natural color too.
Project complete!

See how easy it was? I’m telling you that it IS easy and worth every penny and second it takes to make. I’d love for you to ask your questions, share what stain you used, and show me a picture of how it turned out! Use hashtag #madeitbqueen to tag your new photo board pics and have fun with your amazing photos!
1 comment
Muchas gracias. ?Como puedo iniciar sesion?