March Dye Club Tutorial - Dye this Colorway

March is almost here, and that mean's the deadline for our March Dye Club is fast approaching. Sign up BEFORE March 1st if you want in on this spring inspired colorway!
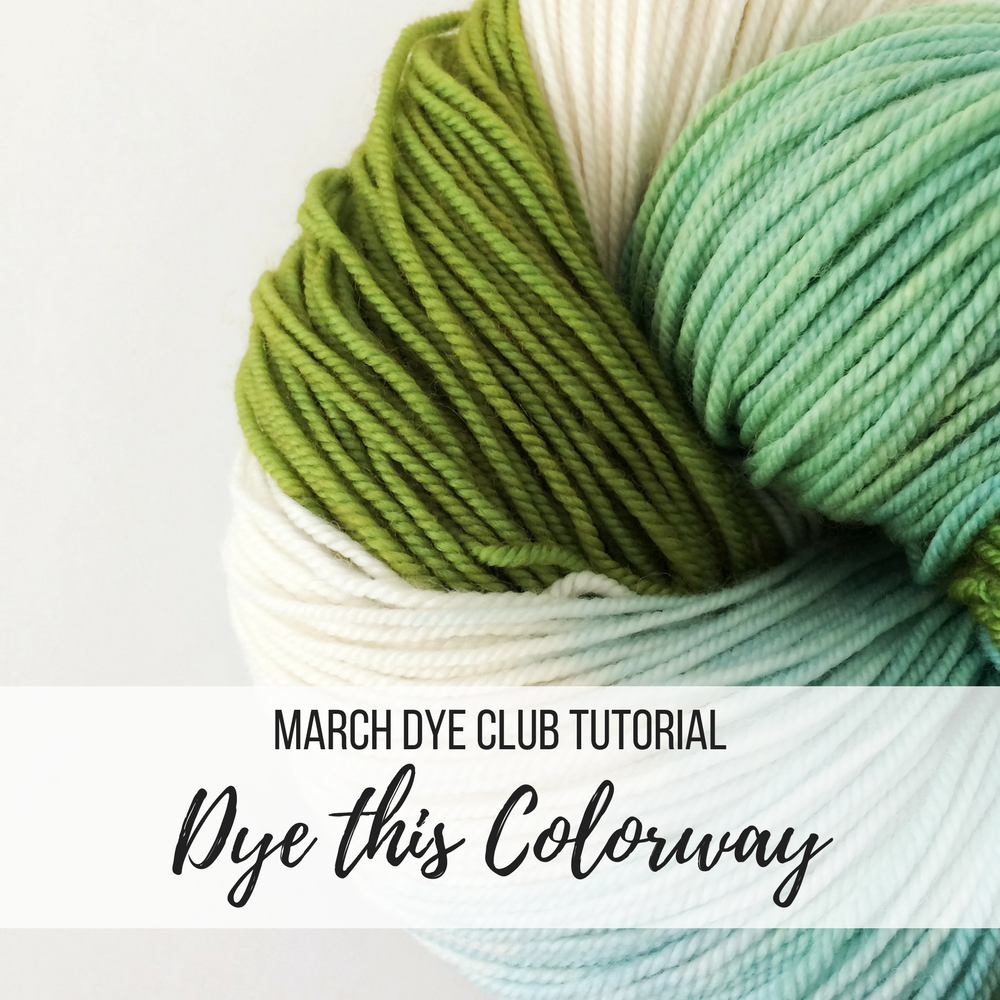
Usually our Dye Club colorways are a surprise every month, but our March box is so fantastic that I just couldn't wait to share. Plus, I wanted to share the tutorial on how to get this colorway with the natural dye extracts you'll be receiving in your MARCH BOX.
March Dye Club members will be receiving both Caribbean and Weld/Calcium Carbonate extracts. Caribbean is a natural dye extract (no longer sold, unfortunately) that allows us to get some pretty-dang-pretty blues, while Weld is known for it's brilliant yellow color.
Wondering where the yellow is in this colorway? Well, that's part of the fun, my friends! What do you get when you add blue and yellow? Green! By dyeing your fiber twice (otherwise known as overdyeing), you'll get a beautiful green.
Just use this tutorial as a guide! You could even make it so that some of the yellow from the Weld shows up as well. I opted for blues and greens, but you really are able to get four colors from this box: White (bare yarn), Yellow (Weld), Blue (Caribbean), Green (when you overdye the yellow with blue).
You might have noticed that there is something called Calcium Carbonate (aka Chalk) in your Weld mixture. Chalk is basically what Tums are made out of, and is used in natural dyeing to make your water "hard," which Weld likes very much, really making that yellow brilliant.
So, without further ado - here's how to get this March Dye Club Colorway.


March Dye Club Tutorial
1. Gawk at Your Bare Fiber
We have six different yarn weights to choose from, and your box was especially packaged for you and your desired weight. Squish it, smell it, imagine the color possibilities. And remember - your fiber is premordanted, so it is ready-to-get-colorful. But really - mordanting is just a process where I cook all of the bare yarn in a giant 100qt pot with a metallic salt, Aluminum Sulfate, and a bit of cream of tartar (COT). The Alum helps the natural dyes adhere to the fiber and the COT helps the fiber remain soft and brighten colors. And in case you forgot, I am super pregnant.

2. Presoak
Whenever we dye, we need to pre-wet our fibers so that the dye can penetrate the fiber properly. Get some good ol' tap water and a bucket, tub, sink, or bowl and gently submerge your fibers in lukewarm water. Let soak for at least an hour, but a couple hours is even better.

3. Prepare your Dye Bath
Your dye pot must be stainless steel or enamel to avoid any chemical reaction from the pot material to the dyeing (this isn't just some random rule - trust me). Fill your pot up with about 8 cups of lukewarm water, or enough water that would allow your fibers to move about freely. As always, it's recommended to not use your food pots for dyeing.
To get my colorway effect, I also grabbed a spare glass (or heat resistant) bowl because some of your fiber will sit outside of the dye bath. You'll see a picture below.
4. Weld/Chalk Dye
Add your Weld/Chalk mixture to the paper cup, add hot water to the cup and mix very thoroughly. Try to smooth out any chunks of Weld.

5. Dye the Weld
For this colorway, I only dyed about half of my hank in the Weld/Chalk mixture, and I left the other half out of the dye bath in a glass measuring cup. So, after presoaking, I gently pressed the excess water off my hank, slowly dipped half of the hank in the pot, and let the remaining half rest outside. Some of the yellow should leech up the yarn sitting outside the pot, which is good, so it'll be a natural blend from color to color.
Following the usual instructions, I slowly brought the Weld to just below simmering. I tend to cut my heat earlier than most dyers (I feel that once the color is achieved, I can save some $$ electricity). So, I turn off the heat as soon as the bath looks mostly clear and the hank is a bright yellow. Let cool so you don't burn your fingertips off when you go to rinse.

6. Rinse
Keep the yellow away from the bare side, and rinse gently. Then, presoak the yarn again while you go about preparing your next bath. Rinse out your pot and fill again with lukewarm water.

7. Caribbean Dye
Follow the same steps as in number 4. Wet out the Caribbean extract in the paper cup, add to your dye bath, gently press out excess water in your hank, and slowly submerge your hank to your desired level. The yellow will instantly turn green, the bare will turn blue. I chose to still leave some bare white on my hank, so once again let some of the hank hang out of the pot. Kill the heat when you've reached your desired color, making sure the pot did reach just before simmering to help set the dye.
Possibilities here are endless - feel free to change up your technique to get different colors.

8. Rinse
Again, carefully keeping the bare separate from your dyed sections, rinse your yarn after it has cooled (those fingers, remember). Hang to dry.

9. Gawk at Your Naturally Dyed Fiber + Name Your Colorway
You did it! You dyed an amazing colorway, all with natural dyes, and I would bet it didn't take that long!
Brian said the colorway reminded him of La Jolla, CA - so that is what I am calling my colorway.
What would you call yours? How did it turn out? I can't wait to see your results. Be sure to tag us @bqueencollection #bqcdyebox if you share any pics on social media, or feel free to email them to us so I can see!

Happy Dyeing!
Makenzie

1 comment
Muchas gracias. ?Como puedo iniciar sesion?